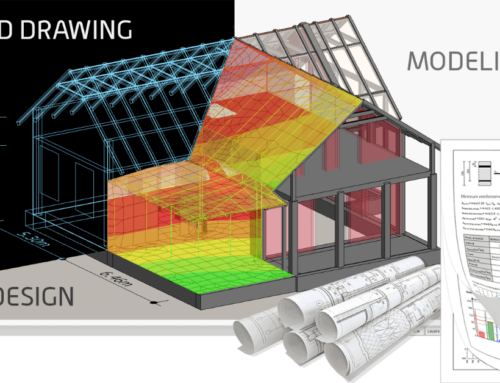
Model management: type connections makes the model simpler to review
By using pre-defined connections, you will obtain a better overview of your edge connections in your model. Go to the settings for the edge connection and select in the menu on top on the tab “Data”. The default value is set as “Custom”. Our tip is to instead use a pre-defined library of connection types. This will facilitate filtering, coloring and give a much better order to the model. You are of course able to make changes to the library to add your specific connection type.

Let’s choose the type ”Hinged” on one side and the other to “No shear”. By using the colors-feature found under Tools/Colour you are able to color your edge connection by type.
It is also possible to show the connection type name in the 3D-view by going into the settings menu under Display/Connection, diaphragm and select “Type”.
This will make edge connections simple to check and give you a great overview of the model.

Shift button will solve your modelling issues!
The shift button is a quite unknown feature but can be very powerful when modelling. Open a tool, for example the Column-tool. Hold the mouse cursor on a line and click “Shift” to extrapolate this line. You can then move the mouse curser to another object and obtain the same position of the column in line with the extrapolated line. In other words, you lock the placement along the extrapolated line.
Another application is to keep your mouse cursor on an area and click “Shift”. The area will become orange and the placement of the new column with be locked to the plane of the area. You are now able to select a point out of the plane and get the placement projected to the orange plane. Sounds complicated? Try it out yourself and find how amazing this can be!

Snap sensitivity
To simplify the modelling work you are able to select the snap sensitivity. This will help you to find a suitable sensitivity that fits what you are used to without the frustration of constantly snapping to the “wrong” object. Click on the snap-text in the bottom right corner and adjust the size of the circle for the snap sensitivity.

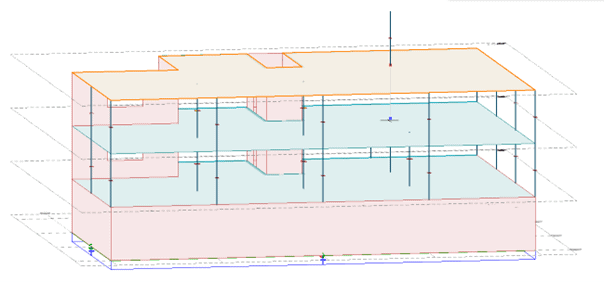
Change direction
The tool ”Change direction” will change the direction of different objects. It can be very useful to, for example, change the local coordinate system of a plate or wall. But it is also possible to use on other objects, for example, a column rotation or beam rotation. You can find the tool under Modify/Change direction.
Please feel free to contact us if you have any questions or need support!